XLR Cardioid Dynamic Mic Setup for Streaming & Studio
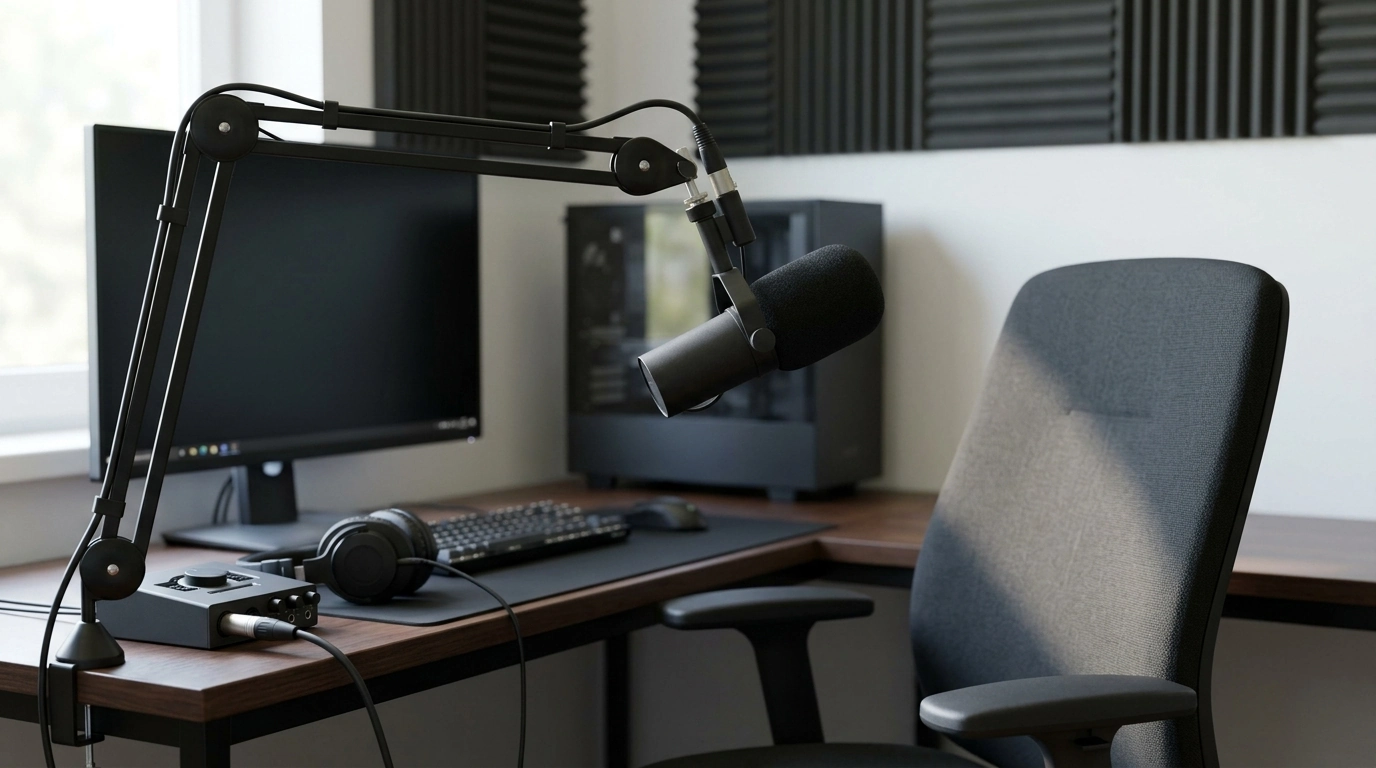
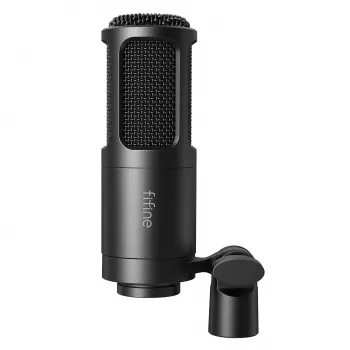
Professional XLR Dynamic Microphone with Cardioid Pickup for Studio & Streaming
A cardioid dynamic XLR microphone is a dependable choice for clear voice capture in untreated rooms, helping reduce background noise while keeping speech present and controlled. This guide covers what a studio/streaming-focused dynamic mic is designed to do, how to position it for a cleaner tone, and how to connect it to common audio gear so it performs at its best. For more guidance, see The RPG Beginner’s Guide to Microphones, Cameras, and Streaming.
What this microphone is designed to do
For streaming, podcasts, voice chat, and home studio voice work, a dynamic microphone is often chosen for one simple reason: it can be more forgiving in everyday rooms. Compared with many condenser mics, a dynamic capsule is typically less sensitive to distant reflections and subtle ambient sounds, which helps keep the focus on your voice. For further reading, see A Guide to Choosing the Best Microphone for Live Streaming.
- Prioritizes speech clarity and controlled tone for streaming and recording.
- Dynamic capsule helps handle louder sources while staying less “roomy” than many condensers.
- Cardioid pickup focuses on the front of the mic and rejects more sound from the sides/rear.
- XLR connection supports audio interfaces, mixers, and broadcast-style workflows.
If you’re building an interface-based setup (rather than USB), XLR gives you flexibility to upgrade preamps, add processing, and route audio to multiple devices more easily over time.
Cardioid pickup: how to get the cleanest sound
Cardioid is all about direction. The microphone “listens” most strongly from the front and reduces sound coming from behind, which is why placement matters as much as gear.
- Aim the front of the mic directly at your mouth; even small angle changes can shift tone and volume.
- Keep a consistent distance (often 2–6 inches) and use a pop filter or windscreen to reduce plosives.
- If “p” and “b” sounds hit too hard, speak slightly off-axis (about 10–30 degrees) while staying close.
- Put the noisiest sources (PC fan exhaust, keyboard, or a loud side of the room) closer to the rear of the mic to take advantage of rejection.
For more technique tips, Shure’s overview of vocal microphone technique is a helpful reference for controlling distance and angle: https://www.shure.com/en-US/performance-production/louder/microphone-technique-for-vocals.
XLR setup essentials for streaming and recording
An XLR dynamic mic plugs into an audio interface or mixer—there’s no direct USB connection. Because many dynamics need more gain than condensers, the quality of your preamp (and how hard you push it) affects hiss and clarity.
- Use an interface/mixer with an XLR mic input and enough clean gain for a dynamic mic.
- Turn phantom power off unless you’re using inline gear that specifically requires it.
- Choose a balanced XLR cable and avoid running it tightly alongside power cords.
- Monitor with headphones, ideally using direct monitoring to avoid latency while recording.
Quick setup checklist
| Item | What to check | Why it matters |
|---|---|---|
| Audio interface/mixer | Clean gain available; XLR mic input | Prevents noisy recordings at higher gain |
| Phantom power | Off unless needed by inline gear | Avoids unnecessary power on the line |
| Mic placement | 2–6 inches + pop filter | Improves intelligibility and reduces plosives |
| Monitoring | Headphones + direct monitoring if available | Helps prevent latency and feedback |
If you’re streaming, your audio routing and filters may be handled in OBS. The OBS documentation is a solid starting point for understanding audio device selection and monitoring paths: https://obsproject.com/wiki/.
Sound shaping tips for a broadcast-ready voice
Once placement is consistent, light processing can make your voice sound more “finished” without becoming harsh or artificial. Many interfaces, mixers, and streaming apps support basic filters; start subtle and adjust while monitoring your own voice.
- High-pass filter around 70–120 Hz to reduce rumble, footsteps, and desk vibrations without thinning speech too much.
- Gentle compression (moderate ratio with a few dB of gain reduction) to keep levels steady on stream.
- Small EQ moves in the upper mids can improve intelligibility; cut instead if you hear harshness.
- Use a noise gate carefully so quiet syllables and soft consonants don’t get chopped.
If you want a clearer grasp of how polar patterns affect what gets picked up (and what doesn’t), Audio-Technica’s primer is a useful read: https://www.audio-technica.com/en-us/support/audio-solutions-question-of-the-week-microphone-polar-patterns.
Mounting and handling: keeping the mic steady and quiet
A stable mount is one of the easiest upgrades for consistency. When the microphone doesn’t drift, your tone and levels stay steady, and you spend less time fixing problems later.
Who this microphone suits best
Product options in stock
- Professional XLR Dynamic Microphone with Cardioid Pickup for Studio & Streaming — $71.51 (In stock)
- 95oz Cordless Cat Water Fountain – Battery Powered & Ultra-Quiet Pet Feeder — $59.97 (In stock)
- Adjustable No-Pull Dog Harness & Leash Set with Reflective Safety Design — $21.51 (In stock)
- Elegant Solid Wood Nightstand with Rattan Storage – Modern Moroccan Design — $1511.99 (In stock)
FAQ
Does an XLR dynamic microphone work without phantom power?
Yes. Most dynamic microphones do not require phantom power, so it’s typically left off. Only enable phantom power if you’re using an inline booster or preamp that specifically needs it.
What audio interface settings help a dynamic mic sound clear on stream?
Set input gain so normal speech peaks comfortably without clipping, and use direct monitoring if your interface offers it. If available, engage a high-pass filter to reduce rumble, then add light compression/EQ in software to keep levels consistent.
How close should the microphone be for streaming voice?
A practical range is often 2–6 inches with a pop filter. Closer placement increases bass via proximity effect and improves background rejection, while moving farther away introduces more room sound.













Leave a comment